“If Gondor has such men still in these days of fading, great must have been its glory in the days of its rising.”
-Legolas, The Return of the King
Threat Level 33
A sense of foreboding pervades as our suddenly-large party of adventurers rises in the new dawn. Three threats remain in the staging area: the annoying Wargs, the sharp-eyed Sniper, and the Brown Lands. We are still engaged to have combat with the Wolf riders. Fortunately, we are in the final stage of our quest and no more enemies will appear.
Adding to the dread is the fact that for the first time on this journey, all three heroes are wounded: Theodred with three out of a maximum of four, Eowyn with two out of three, and Beravor with two out of four. Thus, two of the heroes are each just one more wound away from their demise!
Among our five allies, the cousins Faramir have one wound each. We have three other allies — Gleowine, Henamarth Riversong and Erabor Hammersmith, all thus far unscathed.
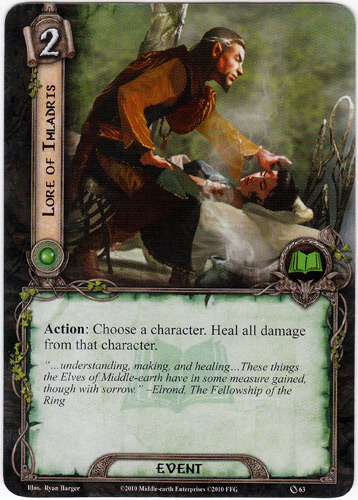
The current location is the East Bight, on which we have precisely zero of 6 progress tokens. In our hand are five events: Sneak Attack, Hasty Stroke, Lore of Imladris, Forest Snare, and Stand & Fight.
Resource Phase
We add resources tokens to our party: with two Steward of Gondor attachments, cash is not an issue. We draw another card, which we hoped would be an ally — and possibly the third Gandalf card — but alas, it is only a second copy of Lore of Imladris.
But we need more allies. So we exhaust Beravor to draw two more cards to our hand: A Test of Will and another Gleowine.
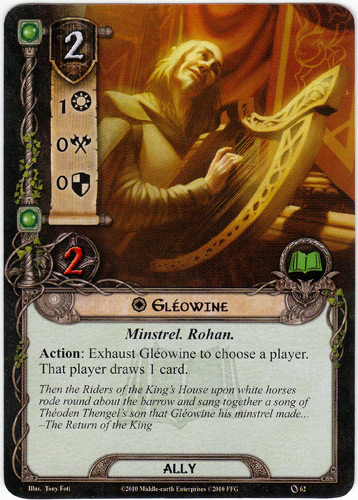
We then exhaust the first Gleowine, who is in our active party, and we draw a Snowbourn Scout. This is frustrating: we had hoped to add allies, and we drew two more, but they are simply the weakest allies in the deck. At least we have more redshirts at the ready.
Planning Phase.
The focus first will be on healing. Beravor pays one to play one of the Lore cards and reduce Theodred’s damage to zero.
Next, Theodred pays one to summon the Scout:
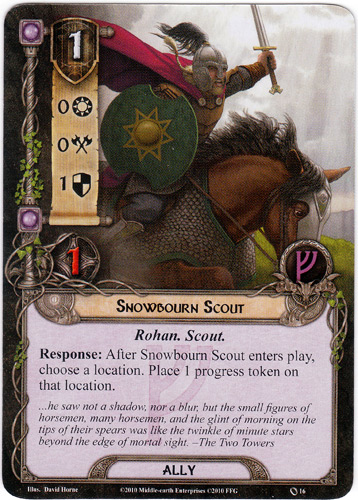
The Scout’s response allows us to place the first progress token on the active location, the East Bight.
Next, another little trick that addresses our need for another strong ally and reduces the threat for questing. Watch closely.
First, Eowyn pays four resource tokens and uses the event Stand and Fight:
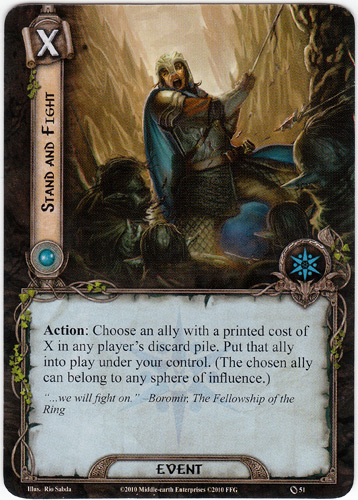
We pull the Northern Tracker out of the discard pile and place it among our active party.
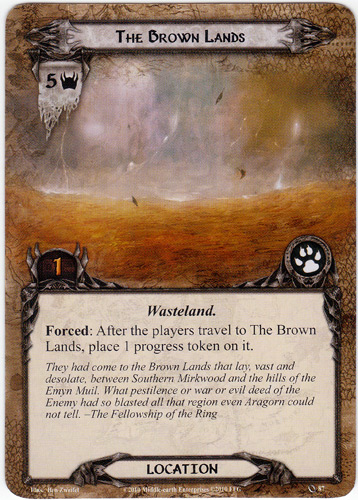
We then use the Tracker’s summoned response to place on progress token on the Brown Lands location, which sits still in the staging area:
This closes the location before the party has even traveled to it, thus eliminating the Brown Lands’ nasty threat level of five before we quest!
An efficient and productive planning phase comes to a close.
Quest Phase
First, we exhaust Beravor’s Unexpected Courage attachment to ready her. Then we commit all three heroes to questing.
Quest Resolution:
Normally at this point we would reveal a new encounter card — but that is not necessary. As noted when we reveal the card on Day Ten, the third and final quest stage, “Ambush on the Shore,” has us skip the staging step of the quest phase for the remainder of the game.
So the quest result is a given: our heroes’ combined willpower of 7 versus the combined threat of the Sniper and Wargs of four gives us three more progress tokens on the East Bight.
NOTE: I realized after the fact that there was no need to close the location. The game is won at this stage once there are no more enemies in play. So in retrospect, I really only needed to quest with Eowyn and Theodred to avoid seeing the threat level rise.
Combat Phase:
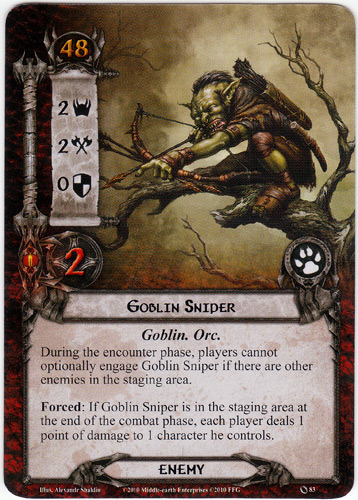
In addition to the Wolf Rider, with whom we are already engaged in combat, we must also engage with the Wargs. The Goblin Sniper is not an option because of the restriction noted on its card against optional engagement.
But that is fine — we will focus on killing off the Wolf Rider and Wargs this turn, and leave the Sniper for another day.
All of our allies, and none of our heroes, are available for these battles. First, the Wargs. Each time we’ve faced them, they’ve avoided damage because their accompanying shadow card has had no effect, allowing them to flee back to the staging area. Will that be the case again?
Before naming our defenders and attackers, we exhaust the spy Henanarth Riversong to get the answer: the top card in the encounter deck is Necromancer’s Reach, which has no shadow effect. That means the Wargs will, once again, attack and flee before we can counter.
Thus, there is no reason for us to name an attacker. We designate the Snowbourn Scout as the defender, and he is no match for the fangs of the Wargs. The Scout’s redshirt gets even redder with his blood, and the Wargs retreat.
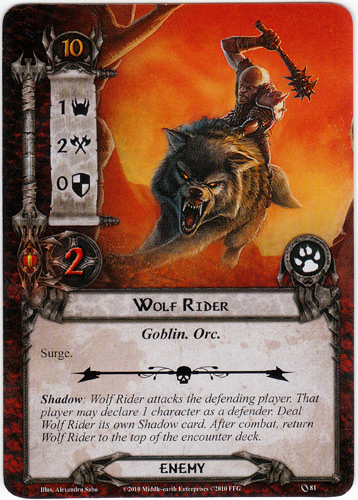
Next, the Wolf Rider. We declare Erebor Hammersmith as the defender. The shadow car is a location, Enchanted Stream, with no shadow effect.
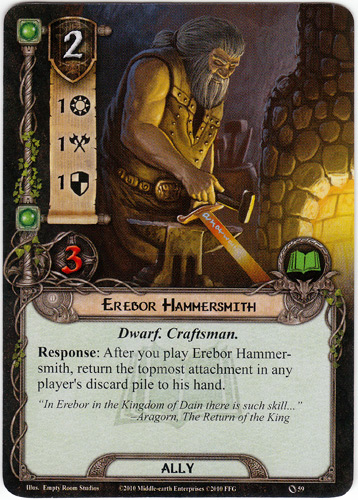
The Wolf Rider’s attack of two versus Erebor’s defense of 1 yields one damage on the ally out of three maximum.
Next, we commit both Faramirs and the Northern Tracker to attack the Wolf Rider.
Their combined attack of four is double what is need to kill the Rider, but with the uncertainty of a possible shadow effect, better safe than sorry.
We’re not done, though. Remember from Day 10, the ‘Forced’ language on the Goblin Sniper means 1 point of damage to 1 character. Because we have just healed Theodred, he is the logical recipient.
Day 11 comes to a close. The heroes and allies are shaken, tired and wounded. The end of the adventure is in sight, but they remain uncertain if they have the fortitude to complete this journey.